Resurrecting the Dead: Turning a 15-Year-Old Laptop into a Network Adblocker
I have an old laptop that essentially very old.. The screen is smashed, the keyboard is dead, and the trackpad has a mind of its own. Literally, the only thing still fighting for its life was the processor.
But, after 15 years of rough usage, the old beast still turned on. So, I decided to turn it into something actually useful.
Meet the “Beast”
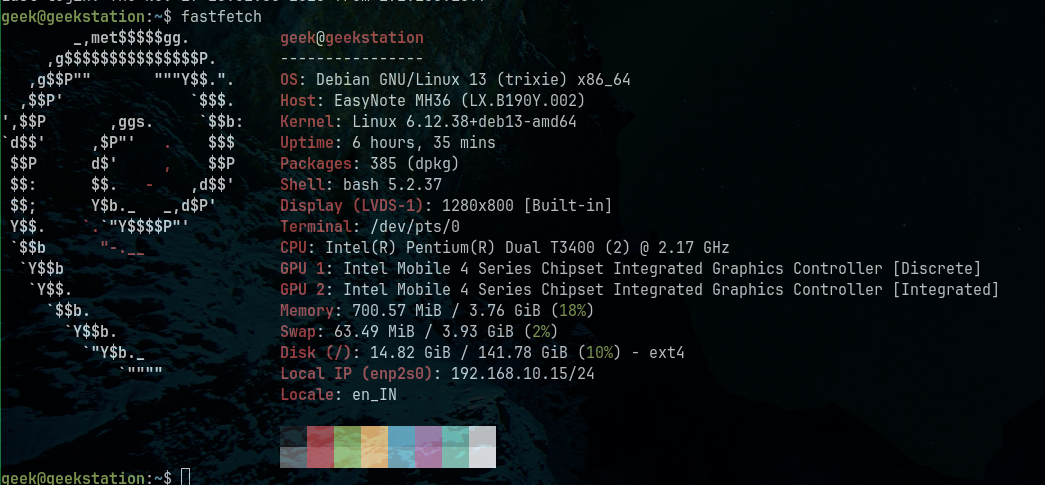
The laptop is a Packard Bell EasyNote MH36.
- Processor: Intel Pentium Dual Core.
- Memory: 4GB RAM.
- Storage: 150GB.
Back in the day, it struggled to run Windows, and connecting an external display basically gave it a panic attack. But for what I had in mind, these specs were overkill.
The Revival: OS & Setup
Since Windows was out of the question, Linux was the answer. I booted the machine with Debian Trixie.
Important note: I went headless (no Desktop Environment). We don’t need a UI eating up RAM for a server that sits in a closet. Once I had SSH access, it was time to install Pi-hole.
Setup :) Hinge was aslo brokem BTW
I’ve also removed the entire display from the beast
Photo by me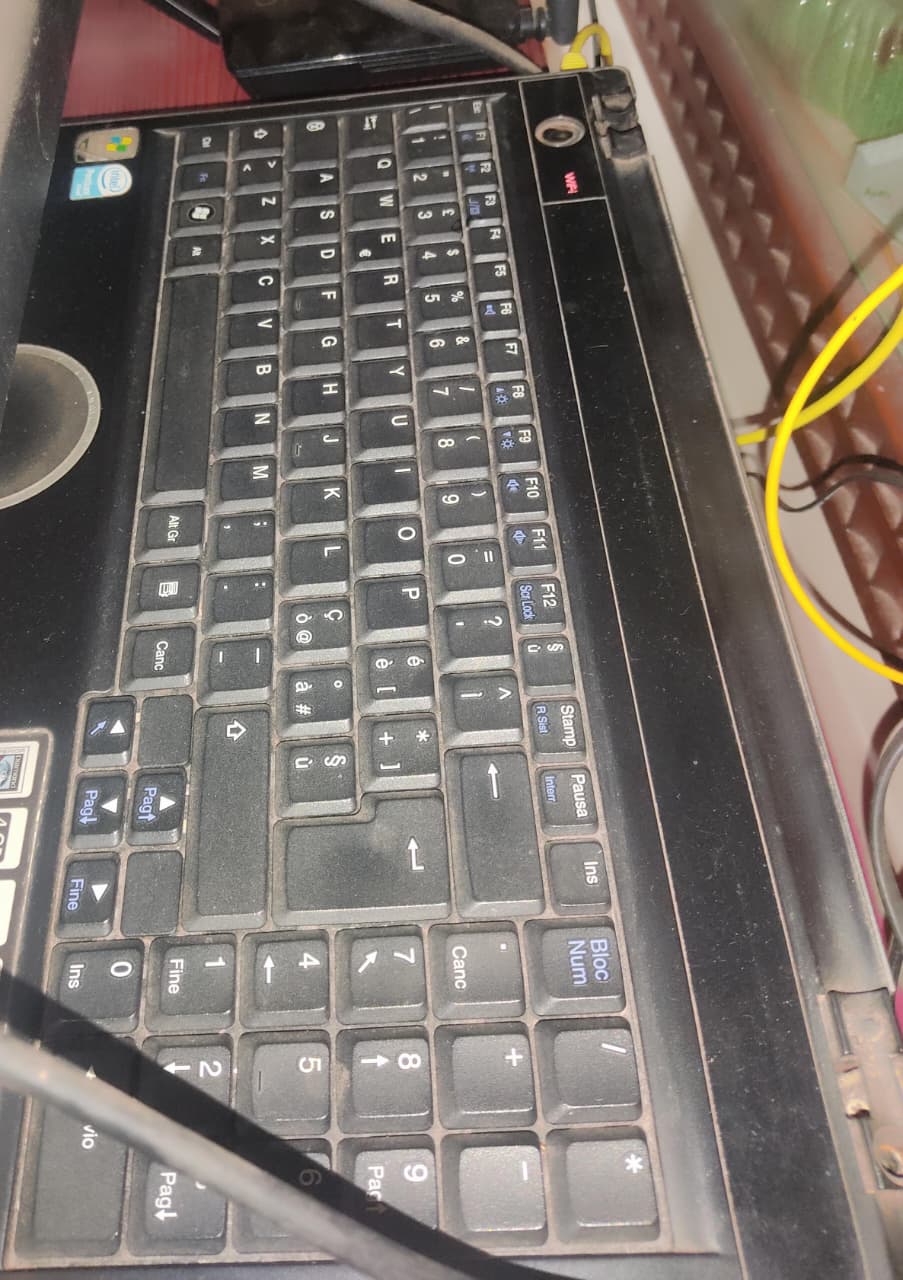
Ultimate Setup
Installing Pi-hole
If you’ve never done this, it’s ridiculously easy. I actually went with a Docker installation because it keeps things cleaner and easier to manage.
I just followed the official steps here: https://docs.pi-hole.net/docker/
The Blocklists
Pi-hole comes with a default list, but if you want to catch the sneaky stuff, you need to update the list. I grabbed some from here:
The “YouTube” Reality Check: Don’t expect this to block YouTube video ads. Google serves those ads from the same domains as the video content, so DNS blockers can’t stop them without breaking the video. However, it wipes out almost everything else on mobile apps and websites.
Making it Work (DNS Configuration)
Once Pi-hole is running your device is actually a DNS server , you have to tell your devices to actually use it. You have two options:
1. The Best Way: Router Level
Log into your router admin page. Look for DHCP Settings or DNS Settings.
Replace the default DNS IP with the Local IP of your old laptop (the one running Pi-hole).
- Benefit: Every device that connects to your WiFi gets ad-blocking automatically.
2. The Manual Way: Device Level
Go into the WiFi settings on your phone or laptop and manually set the DNS server to your Pi-hole’s IP.
- Benefit: Good for testing specific devices without breaking the internet for your family while you tinker.
Did it work?
To check if your traffic is actually hitting the server, just open a terminal and run a manual lookup for google.com pointing to your Pi-hole’s local IP.
nslookup google.com 192.168.10.15
Server:         192.168.10.15
Address:        192.168.10.15#53

Non-authoritative answer:
Name:   google.com
Address: 142.251.220.110
Name:   google.com
If you get a ping back with the correct address, boom—you are in.
Having some Local Fun
Since you now control the DNS, you can do some other stuffs with your local network names.
In the Pi-hole dashboard, you can map domain names to local IP addresses. Want to feel like a sysadmin? You can name your server bakerstreet.home or jarvis.local instead of typing 192.168.1.15 every time.
How to do it:
- Go to Local DNS > DNS Records.
- Enter the domain (e.g.,
bakerstreet.home). - Enter the Target IP.
Now, whenever you type http://bakerstreet.home in your browser, it routes straight to your server. It’s a small touch, but it makes the setup feel legitimate.